Installing Tongue and Groove Flooring: A Homeowner’s Guide
May 4, 2022
by
How Can You Install Groove and Tongue Flooring?
Place the groove side against the wall near a corner to mark the first row, leaving a 3/16-inch gap between the board and the wall. Measure the exact distance between the mark and the wall on the tongue side of the subfloor. Place this mark on the opposite side of the room and draw a chalk line connecting the two places.
A bead of construction adhesive runs between the chalk line and the wall. Only the first row necessitates this.
Place a piece of flooring on the floor with the tongue aligned with the chalk line. Nail through the board's surface along the side of the board's groove with a finish nailer.
Fill the gap between the flooring and the walls using shims or spacers to keep it in place.
Shoot nails through the tongue every 8 to 10 inches with the finish nailer held at an angle.
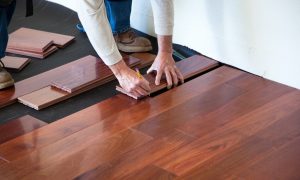
Install the next piece of flooring, matching the tongue and groove between the two sections against the chalk line. Before nailing through the face and tongue of the board, use a rubber mallet to unite the two sections. Continue until you reach a corner on the opposite side of the wall.
Keep the tongue pointed toward the wall while flipping the end piece upside down to mark it for cutting. Using a pencil, create a mark where it meets the previous board, keeping a rough 3/16-inch space at the wall. Using a miter saw, cut the board to length. To keep it fixed in a place, drive a nail into the face and tongue.
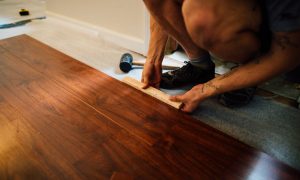
Using this procedure, keep going until you're far enough from the wall to utilize the flooring nailer. After that, lay a new board down and tap it into position with the rubber mallet before nailing it into place with the flooring nailer through the tongue.
Lay the boards out again, tapping them in place and nailing them every 8 to 10 inches. Assemble the panels so that the seams between adjacent classes are at least 6 inches apart.
You won't be able to use the rubber mallet to move the board once you've made it across the room. Using a flooring jack pressed against the wall to position the panels properly.
Switch back to the finish nailer and nail through the face of the boards every 8 to 10 inches along the other side of the room's wall.
Install baseboard mouldings after filling nail holes with wood putty and buffing the surface.
Tools Needed While Installing Tongue And Groove Flooring


 0405 900 741
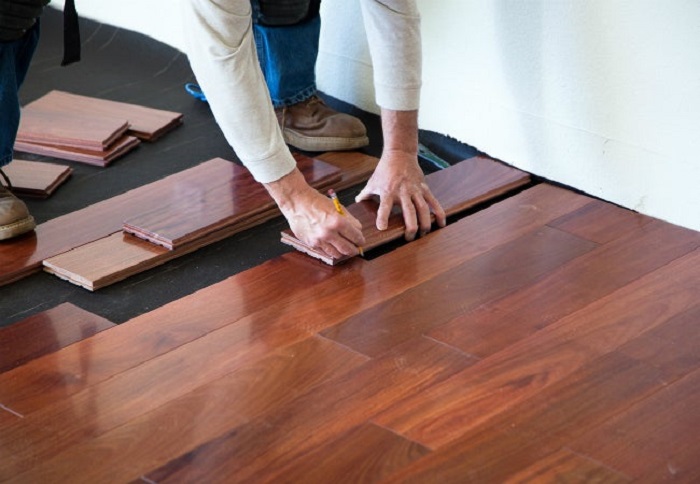


 Call Now