As you begin your laminate-flooring installation, you will want to lay the tongue against the wall. What direction do you lay laminate in? It was also a question.
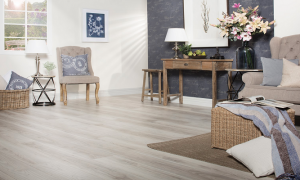
Laying a laminate floor in the proper direction can enhance its appearance.
- Install laminate click-together flooring in a direction that faces the primary source of light in the space.
- Run the passageway flooring in the same direction as the passageway for the most significant results.
Is it permissible to have laminate flooring installed on the walls?
Yes, laminate flooring may be installed on walls! Wall-mounted laminate flooring has become a popular trend in both homes and businesses. It is simple to mount on walls and can be used to create a rustic, modern, or distinctive look.
How much space between both the laminate and the wall should there be?
We recommend using installation spacers, which can be obtained in installation tools, between planks and the wall to authorise the needed 1/4 inch expansion room for laminate flooring installation and the correct expansion gap.
How should the first row of laminate flooring be installed?
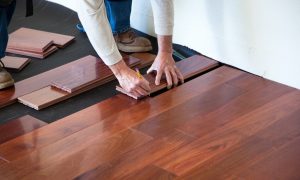
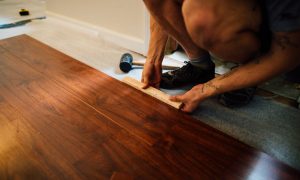
Place the planks with the tongue side facing the wall to begin the first row of flooring by fitting the tongue with the groove and pressing the plank down to snap it in place. Cut the length of plank required to complete the row when you reach the end of the first row.
Is it better to have a tongue or a groove? Which Should Be Installed First?
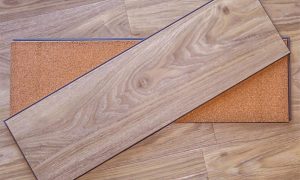
Which side is the tongue, the groove, and which is installed first? As you begin your laminate-flooring installation, you will want to lay the tongue against the wall.
If you combine the two and start with the groove side, you'll have trouble finishing the installation because you'll be putting the flooring down backwards. Take note of the tongue and groove orientation in the line drawing above. The tongue of any Swiss Krono click system protrudes outward, while the groove part makes a chamber for the tongue of the following plank to slot into, as seen in this figure.
Both are micron-perfectly cut to ensure a tight, interlocking assembly. Starting with the tongue on the long side of a plank facing the wall, pick your way to the left side of the wall.
It's time to get rid of the tongue against the wall. The 7-mm and 8-mm products can be cut with a sharp utility knife, while the 10-mm and 12-mm products will require a saw. To avoid harming the tongues on the short side of the boards, it's vital to work from left to right.
It's an okay opinion to get all of your laminate flooring planks orientated in the same path, with the tongue side of per plank parallel to the wall you'll be installed against before you start your installation process and after you've acclimated your laminate flooring boards.


 0405 900 741
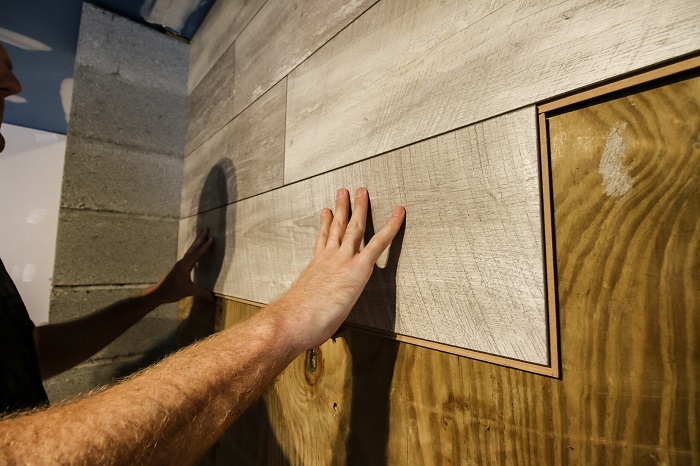

 Call Now